Adding a New Expense
Record a business expense by entering the details and attaching receipts.
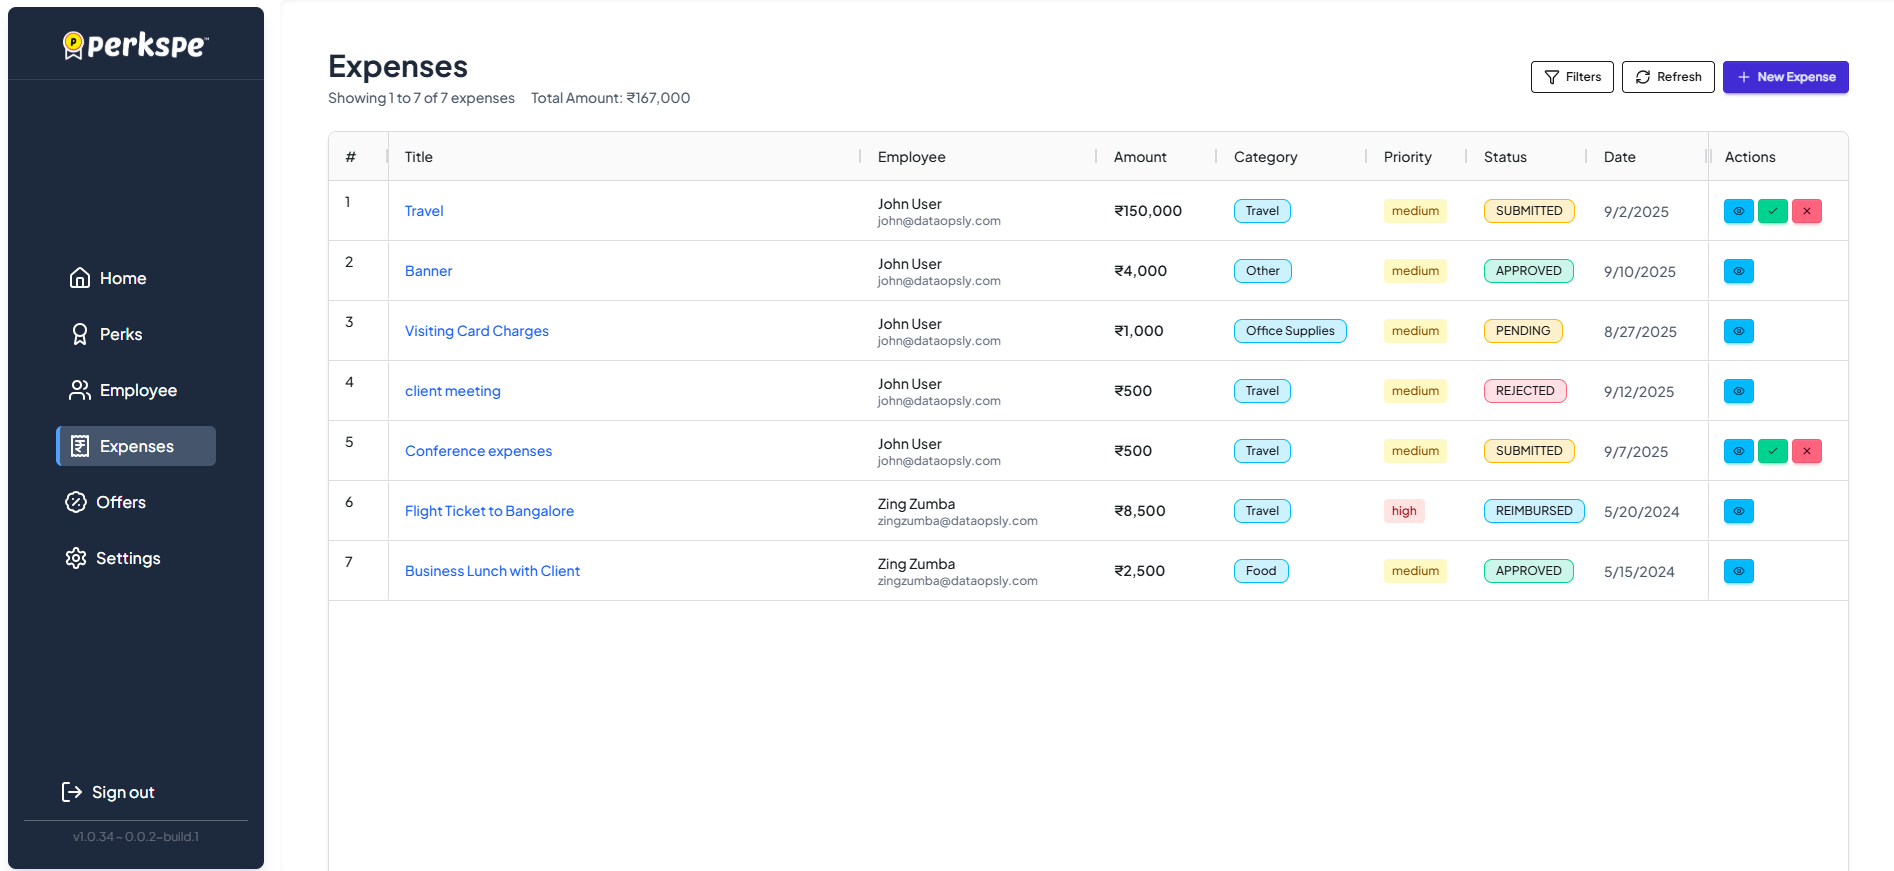
Section A: Basic Information
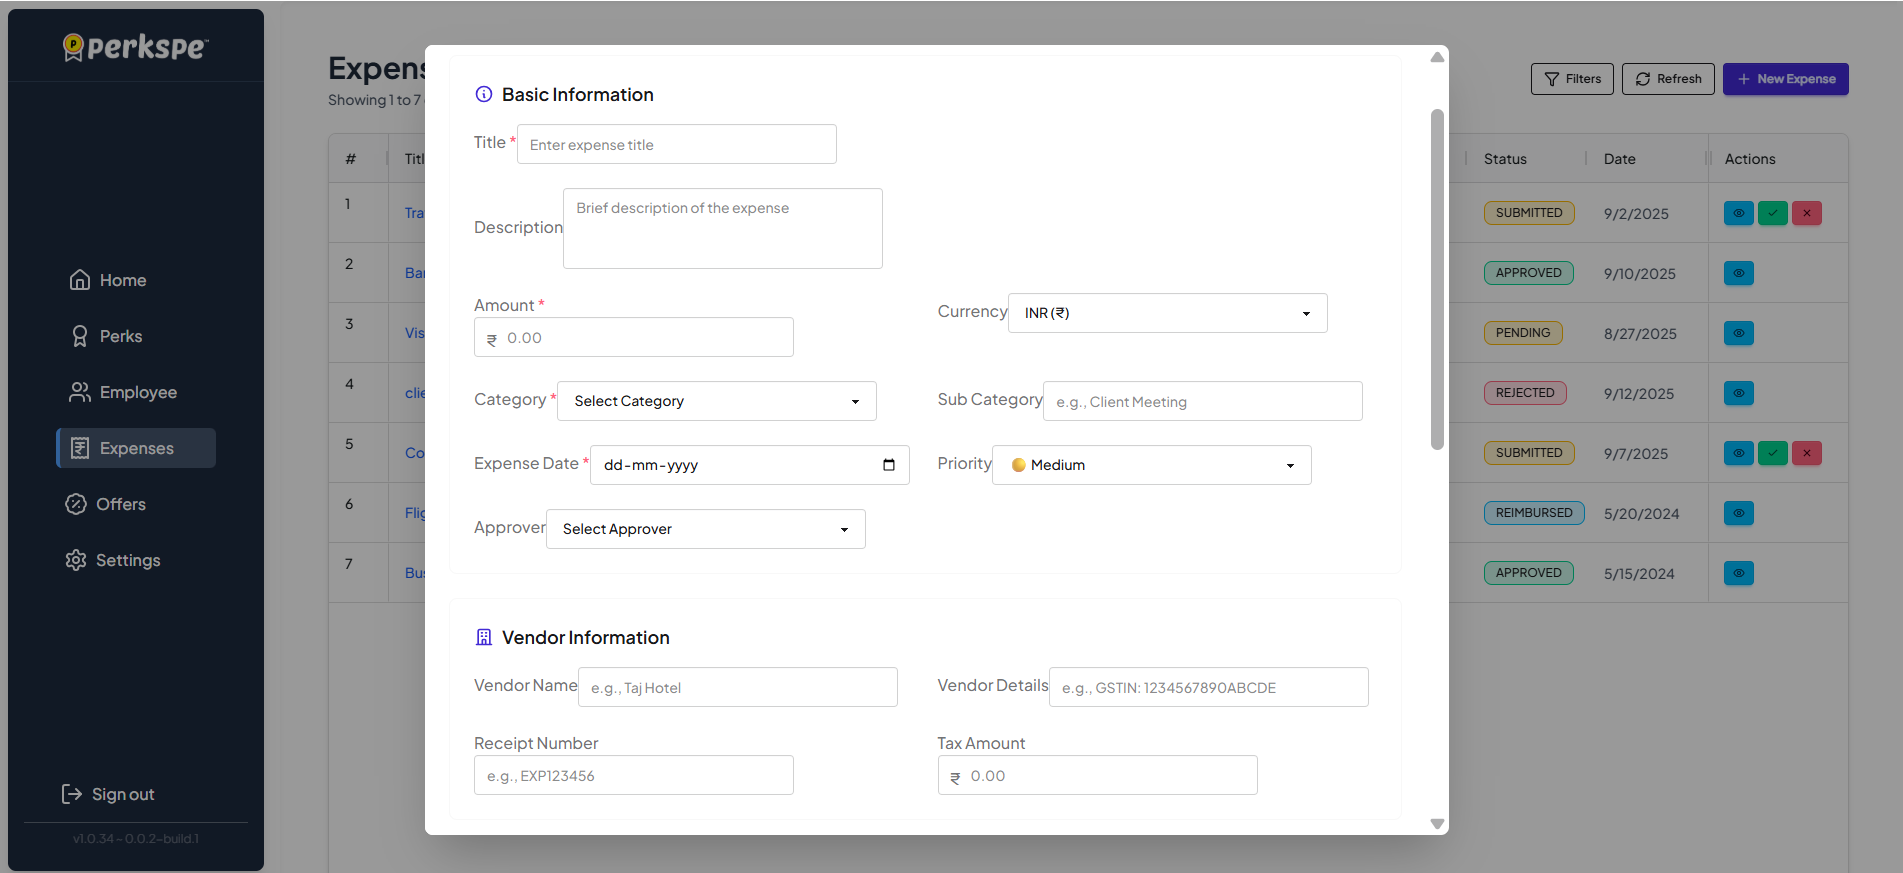
- Expense Title: Short name for the expense (e.g., "Client Lunch")
- Description / Purpose: Why this expense was incurred
- Expense Type / Category: Select category (Travel, Food, Office Supplies, etc.)
- Date & Amount: When it occurred and the total amount
- Priority: How urgent is this reimbursement?
Priority Levels:
- 🔴 Urgent: Need reimbursement ASAP
- 🟠 High: Important, please review soon
- 🟡 Medium: Normal processing time is fine
- 🟢 Low: No rush
Section B: Vendor Information
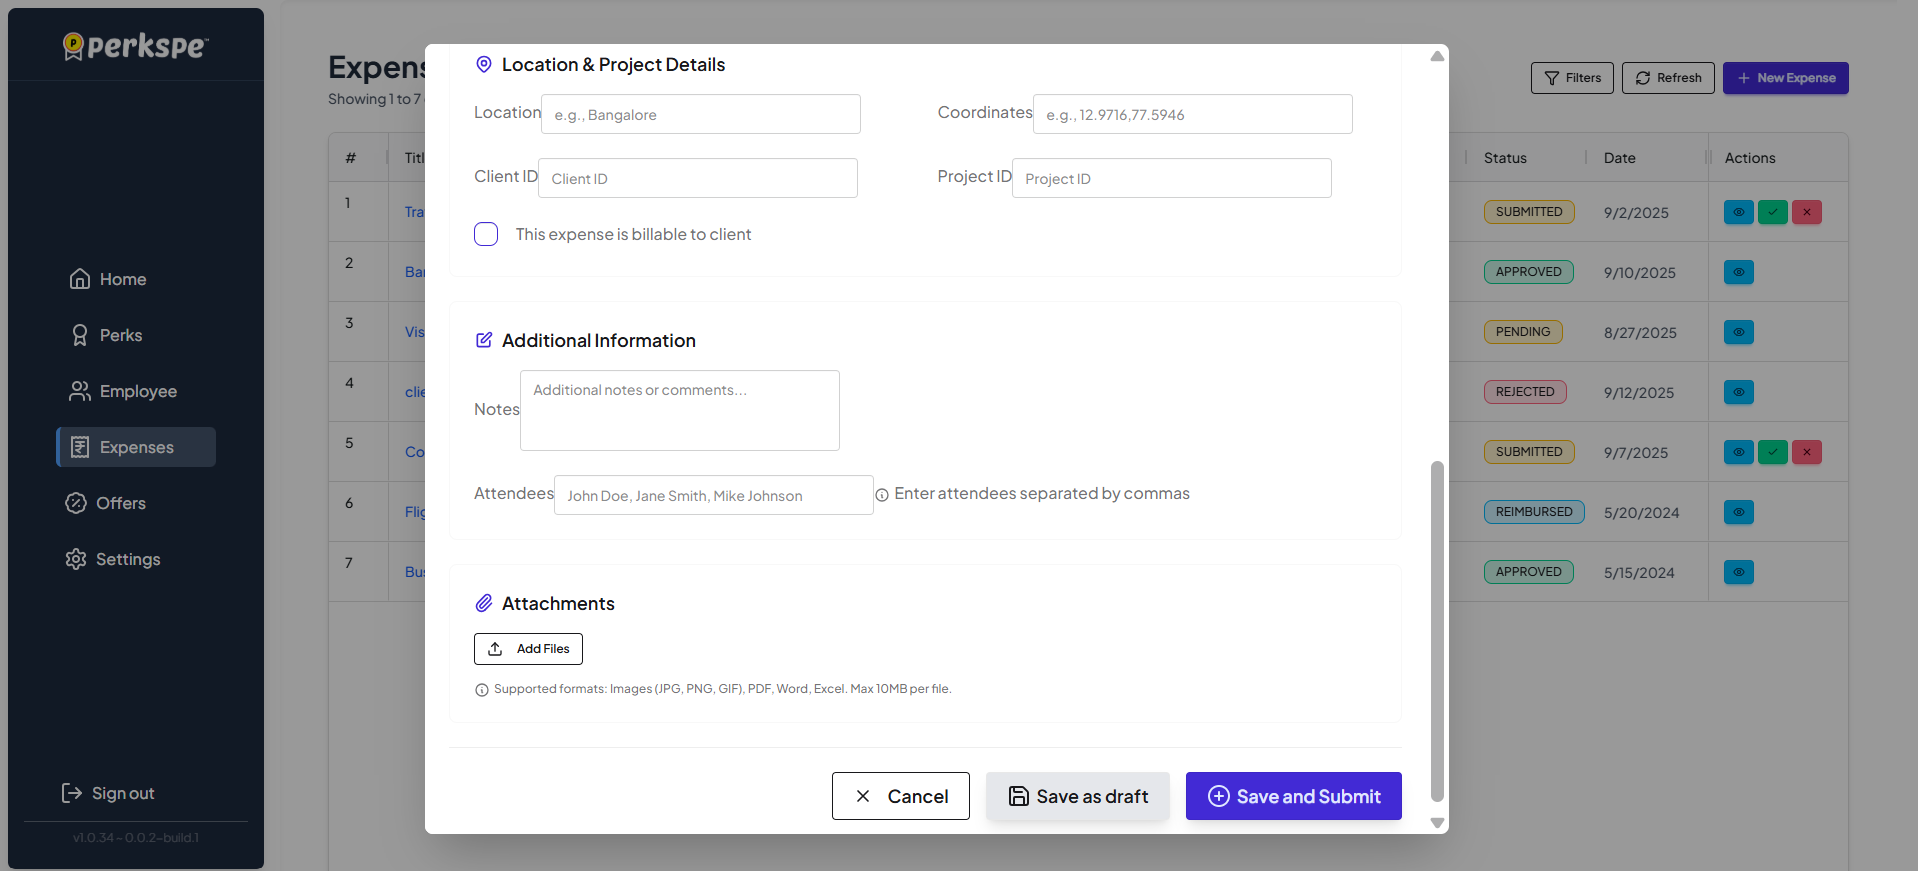
- Vendor Name: Name of the business/store
- Vendor Details: Additional vendor info (address, contact)
- Receipt Number: Invoice or receipt number
- Tax Amount: Tax portion of the expense
Section C: Location
- Location: Where the expense occurred
- Coordinates: GPS coordinates
When submitting an expense from the PerksPe mobile app, the app automatically captures the expense location and GPS coordinates after you grant location permission.
Section D: Custom Fields
If your organization has defined custom fields in settings, they appear here.
Text & Number
Capture textual details or quantities (e.g. Project Code).
Date & Boolean
Select dates or toggle yes/no switches (e.g. Billable?).
Section F: Attachments (Receipts)
Upload receipts and supporting documents to speed up approval.
- Click Add Files.
- Select your receipt image or document.
- Click Open.
Supported formats: JPG, PNG, PDF. Take clear photos of receipts before they fade!
After filling in all details, you must choose how to save:
Save as Draft
Use this if you need to gather more info or attach receipts later. The approver will not see it yet.
Save and Submit
Use this when the expense is complete and ready for your manager's approval.